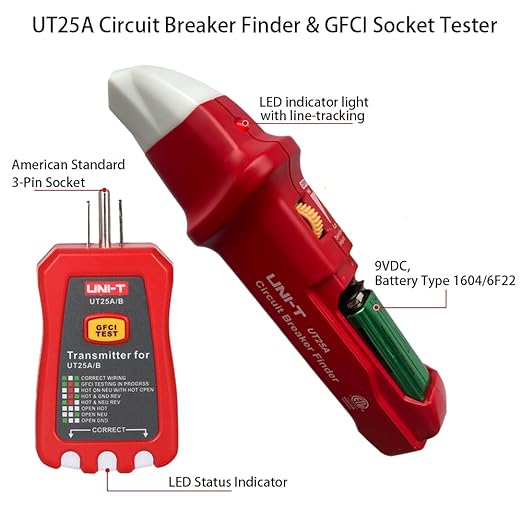
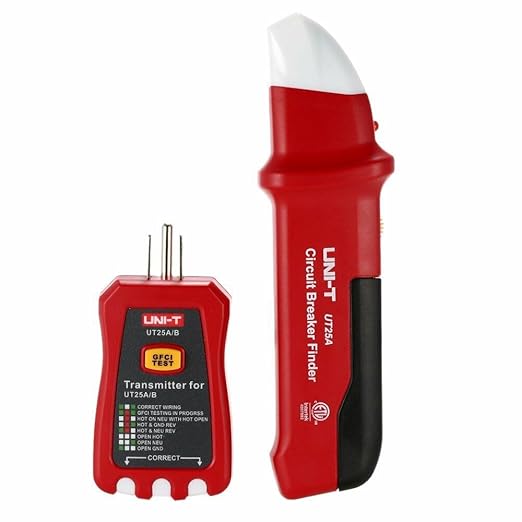
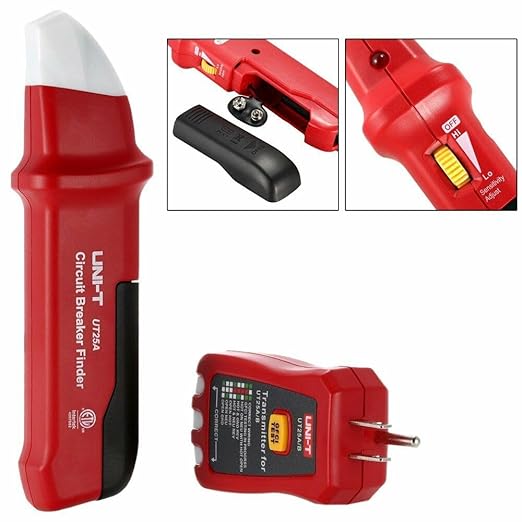
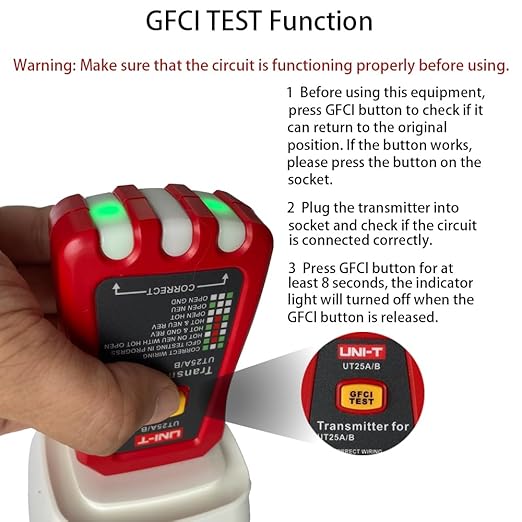
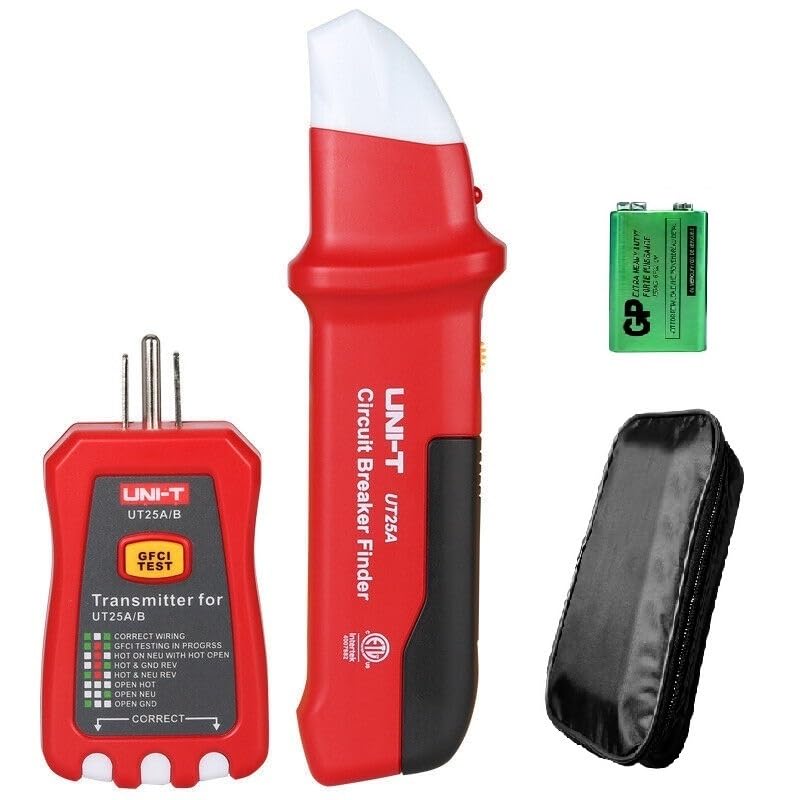
The UT25A is a multi-functional AC circuit breaker finder suitable for detecting AC systems. It uses LED indicators to display various line statuses, making it ideal for use in factories and schools.
To use an AC circuit breaker finder, follow these steps to locate a breaker connected to a specific outlet or light fixture:
1. Setup and Preparation
Turn on the Finder: The circuit breaker finder typically consists of a transmitter and receiver. Plug the transmitter into the outlet or socket you want to trace.
Power On: Ensure the transmitter is on and plugged into a live circuit. It sends a signal along the wiring connected to that circuit.
2. Go to the Breaker Panel
Switch On the Receiver: Take the receiver to the breaker panel. Turn it on, usually by pressing a button to activate the scanning mode.
Scan Each Breaker: Slowly pass the receiver over each breaker in the panel. Move the receiver up and down until you hear a beep or see a light indicating it has picked up the transmitter's signal.
3. Identify the Correct Breaker
Verify the Signal: The receiver beeps or flashes on the correct breaker, indicating that it is linked to the outlet where the transmitter is plugged in.
Double-check: Turn off the identified breaker and confirm by plugging something into the outlet (if it’s off, you've found the right breaker).
4. Safety Check
Once you locate the breaker, label it for future reference to make the process easier next time.
By following these steps, you can use a circuit breaker finder safely and efficiently to identify specific breakers in a panel.
 Language
 中文
中文

